We are so excited to be sharing these 3 extensive chemistry lessons for high school using Home Science Tools in your homeschool!

Affiliate links are used in this post and on this website. Please see our disclosure policy for more details. Eva was given these products for review and was compensated for her time in preparing this post. All opinions are her own.
Chemistry With Homeschool Science Tools
The Three Topics We Explore Are:
- Nomenclature of Chemical Compounds
- Covalent Bonding
- Ionic Bonding
Join one of our TCC Authors, Eva Varga, as she shares three high school level chemistry lessons she created for her children with the help of Home Science Tools.
Nomenclature of Chemical Bonds with Home Science Tools
My daughter is dual enrolled in a chemistry course this fall at the local community college. As a junior in high school, she has had her goal of becoming an environmental engineer for many years. As her brother is just now beginning his high school years, I wanted to provide each of them with a firm foundation in chemistry this summer.
Though we had previously done a little exploration in chemistry in a STEM Co-op, I knew I needed to up the ante, so to speak, to assure their success in advanced science courses.
When I need to replenish chemicals or purchase science tools for lab activities for our homeschool, the first place I turn to is Home Science Tools. I love that their lab kits are customizable. I can buy just what I need; I’m not obligated to purchase a kit full of components that I already have in my supply room or kitchen pantry.
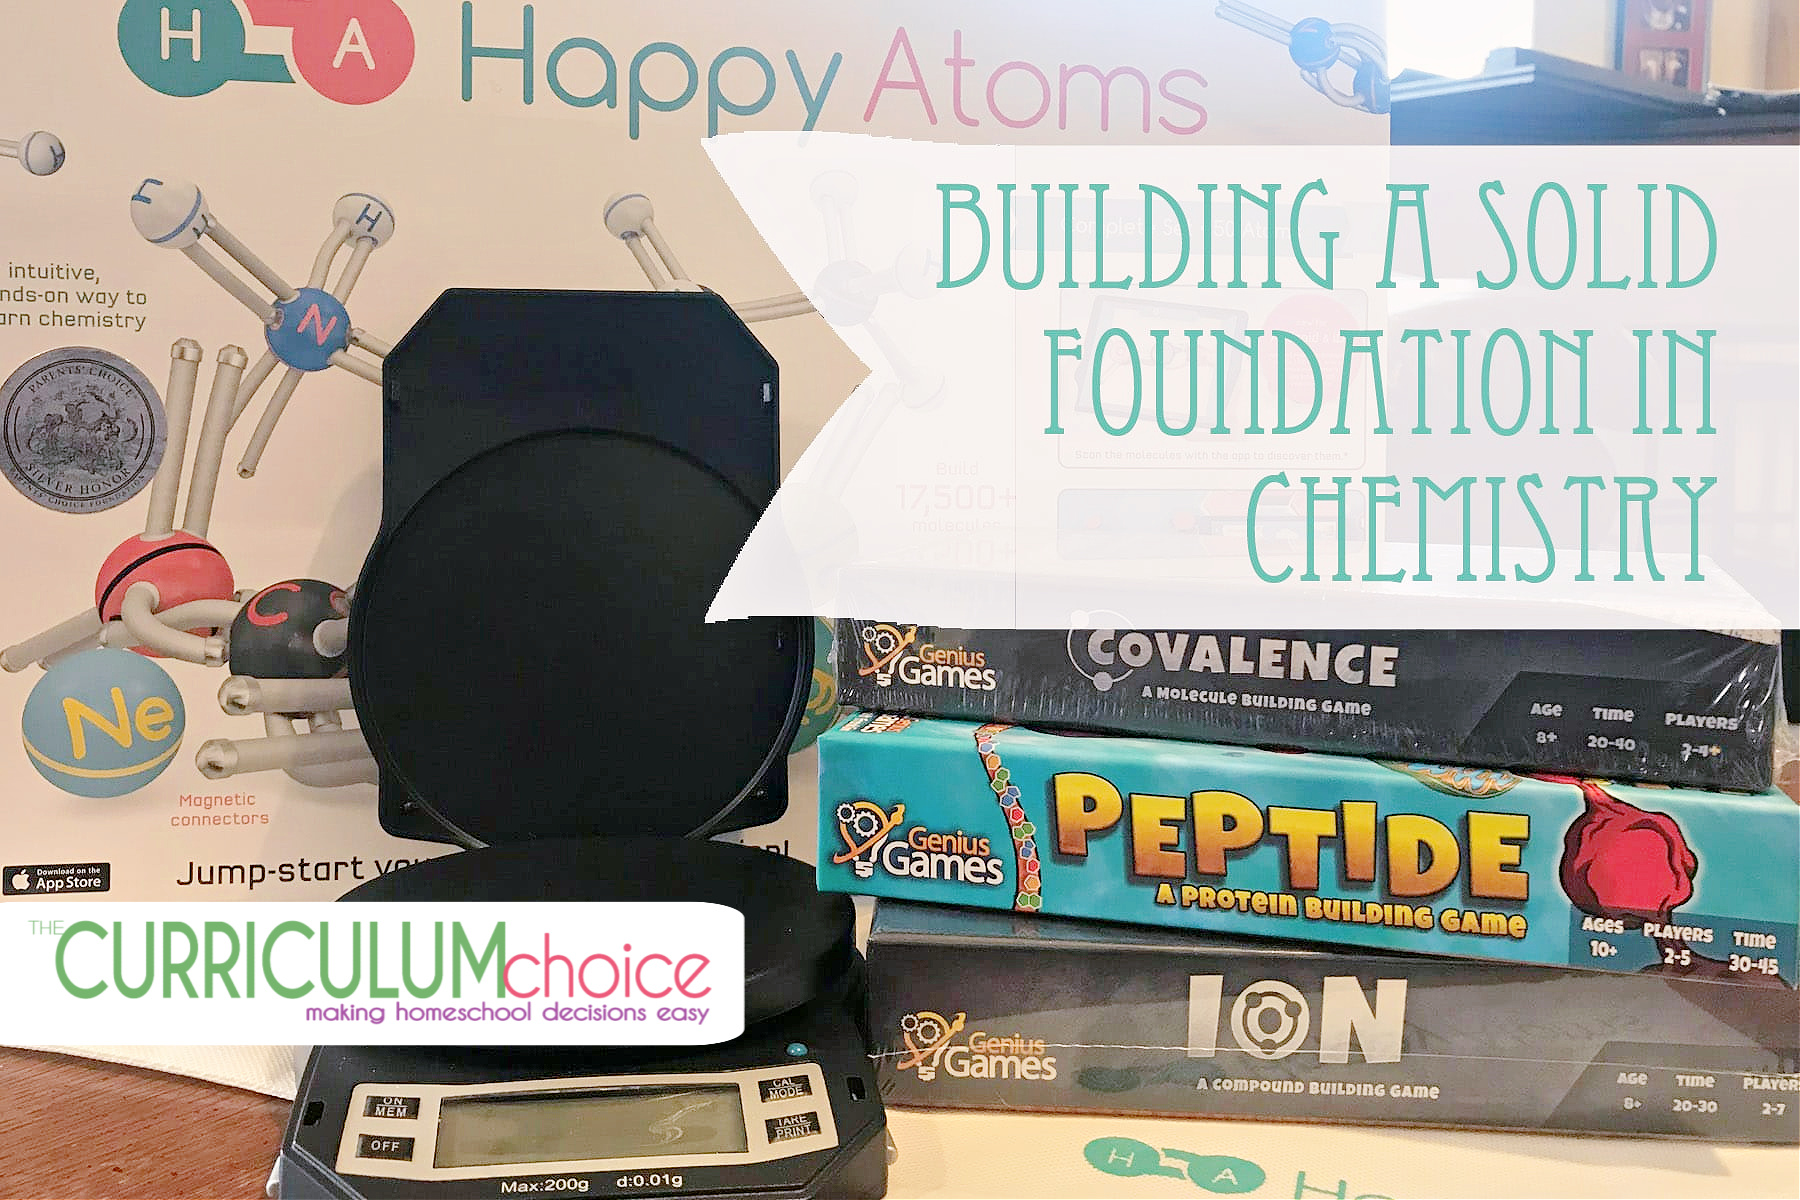
I am very excited about the new unit I am putting together. With the new products I have discovered at Home Science Tools, I know the course will be exciting. Come along – I’ll guide you through a few of the chemistry lessons I put together using the new materials I was provided in exchange for my review.
Nomenclature of Chemical Compounds
When chemistry was yet a new science, there was no system for naming compounds. The common names most are familiar with – quicklime, Epsom salts, milk of magnesia, and laughing gas, for example – were coined by early chemists. As the science grew, the need to develop a better system evolved and chemists now call these compounds: calcium oxide ( CaO ), magnesium sulfate – ( MgSO4 ), magnesium hydroxide – ( Mg(OH)2 ), and nitrous oxide ( N2O ).
After learning the system, a chemist should be able to name the compound when provided the chemical formula. Conversely, given a compound name, a chemist should also be able to construct the chemical formula.
So, how do we know what it is called? Laying a foundation for success, let’s focus on the inorganic compounds, beginning with binary compounds – compounds that are composed of two elements.
Binary Covalent Compounds
A binary covalent compound is composed of two different nonmetal elements. For example, a molecule of chlorine trifluoride, ClF3 contains 1 atom of chlorine and 3 atoms of fluorine.
Rule 1. The element with the lower group number is written first in the name; the element with the higher group number is written second in the name.
Exception: when the compound contains oxygen and a halogen, the name of the halogen is the first word in the name.
Rule 2. If both elements are in the same group, the element with the higher period number is written first in the name.
Rule 3. The second element in the name is named as if it were an anion, i.e., by adding the suffix -ide to the name of the element.
Rule 4. Greek prefixes (see the Table provided at the bottom of this page) are used to indicate the number of atoms of each nonmetal element in the chemical formula for the compound.
Exception: if the compound contains one atom of the element that is written first in the name, the prefix “mono-” is not used.
Binary Ionic Compounds
Binary ionic compounds contain a positive ion (cation) which is always written first in the compound and a negative (anion) that follows. Here are a few examples:
| Compound | Ions Present | Name |
| NaCl | Na+ , Cl– | Sodium chloride |
| CaS | K2+ , S2- | Calcium sulfide |
| MgO | Mg2+ , O2- | Magnesium oxide |
In each example, the cation is named first, and then the anion is named.
Many metals, however, form more than one type of positive ion and thereby form more than one type of ionic compound with a given anion. These ionic compounds are indicated by a Roman numeral that specifies the charge on the cation. For example: Fe2+ is Iron(II) and Fe3+ is Iron(III).
Hands-on with Happy Atoms Set from Home Science Tools
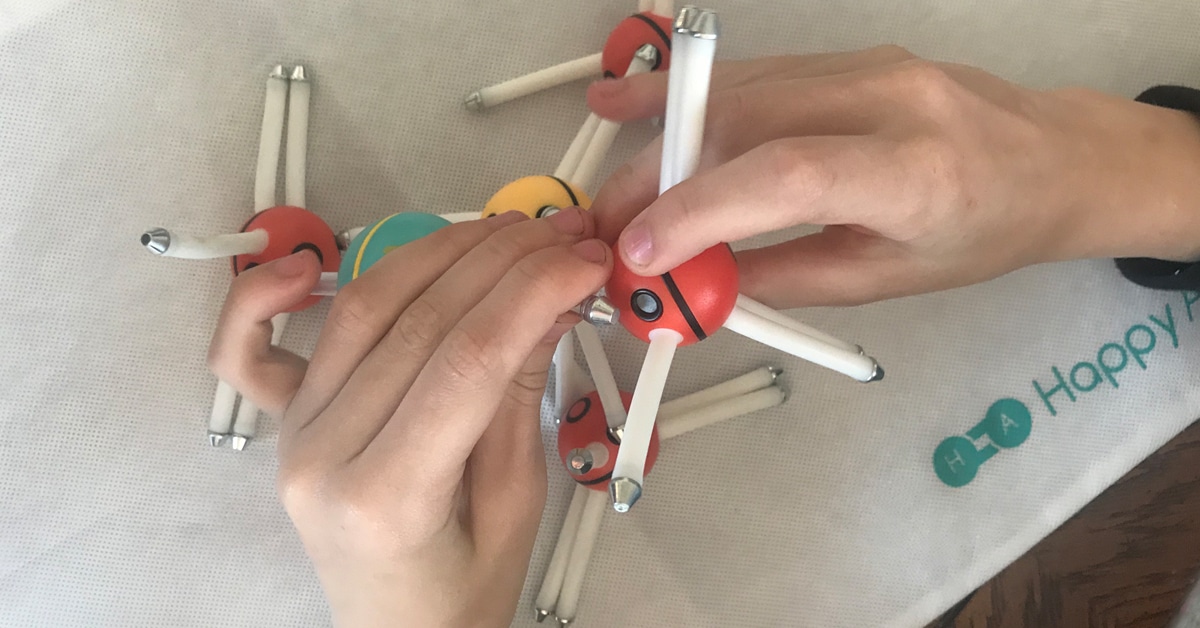
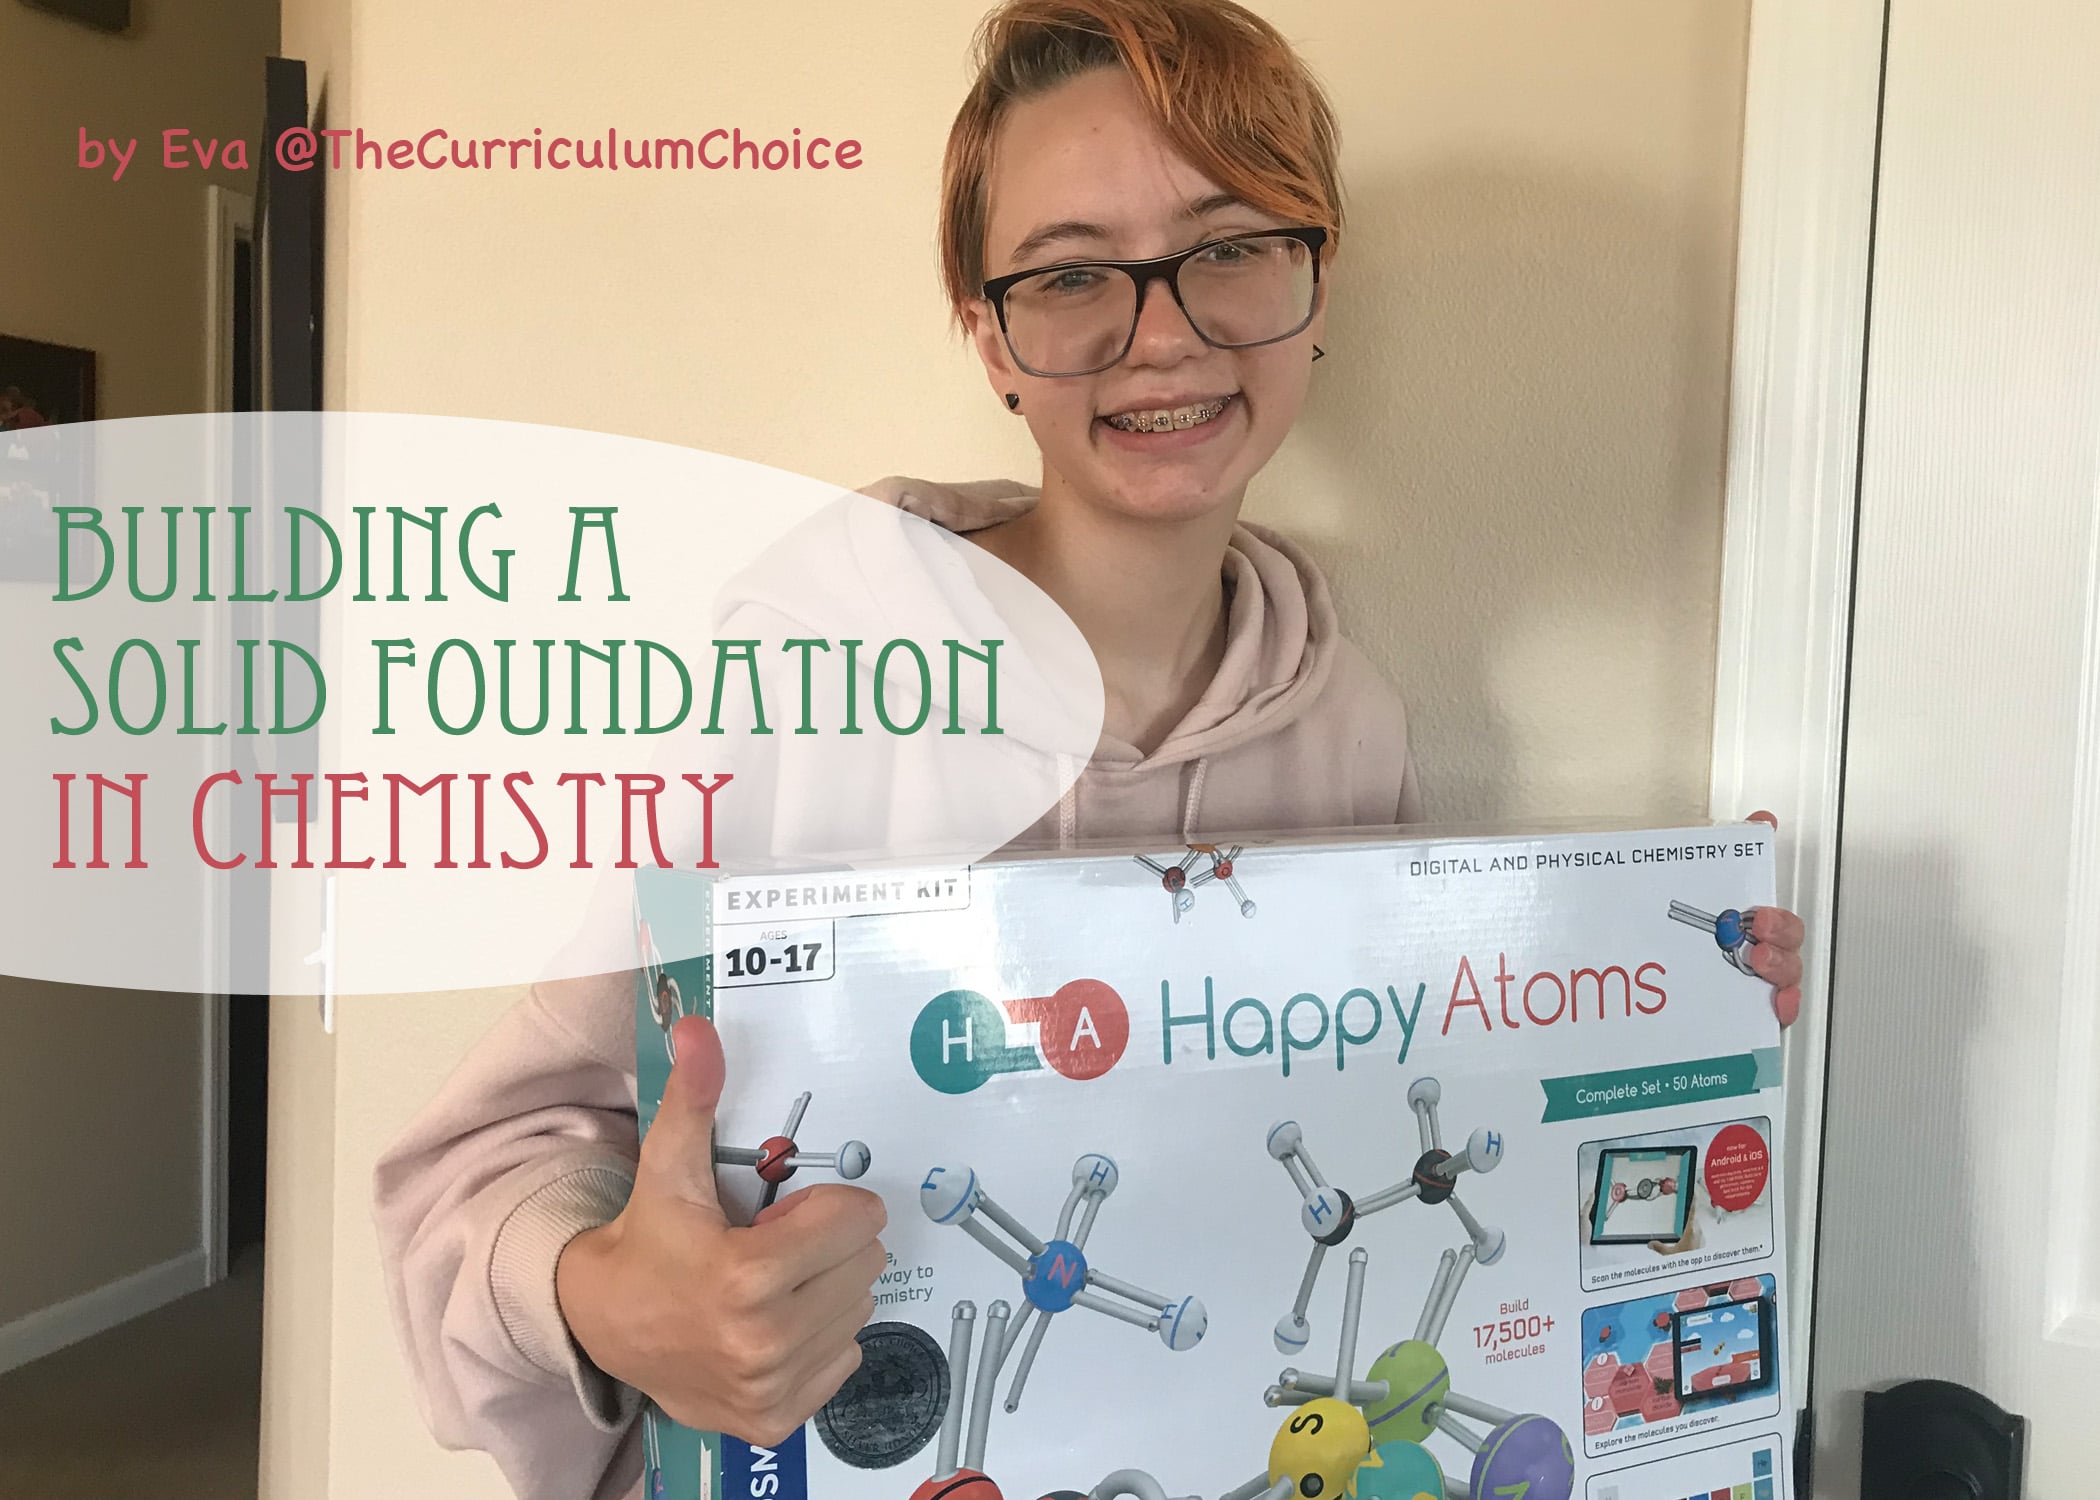
We were very excited to explore these chemical structures named above and many others with the aide of the Happy Atoms Complete Set from Home Science Tools. Happy Atoms is more than just a model kit. It is part digital educational app, part physical modeling tool for teaching chemistry. It is perhaps the best system I have used for modeling chemical compounds.
Sixteen different elements are represented and the unique features of the physical components (flexible, outer arms and magnets) allow students to create models of double bonds, and even triple bonds as well as both ionic and covalent compounds.
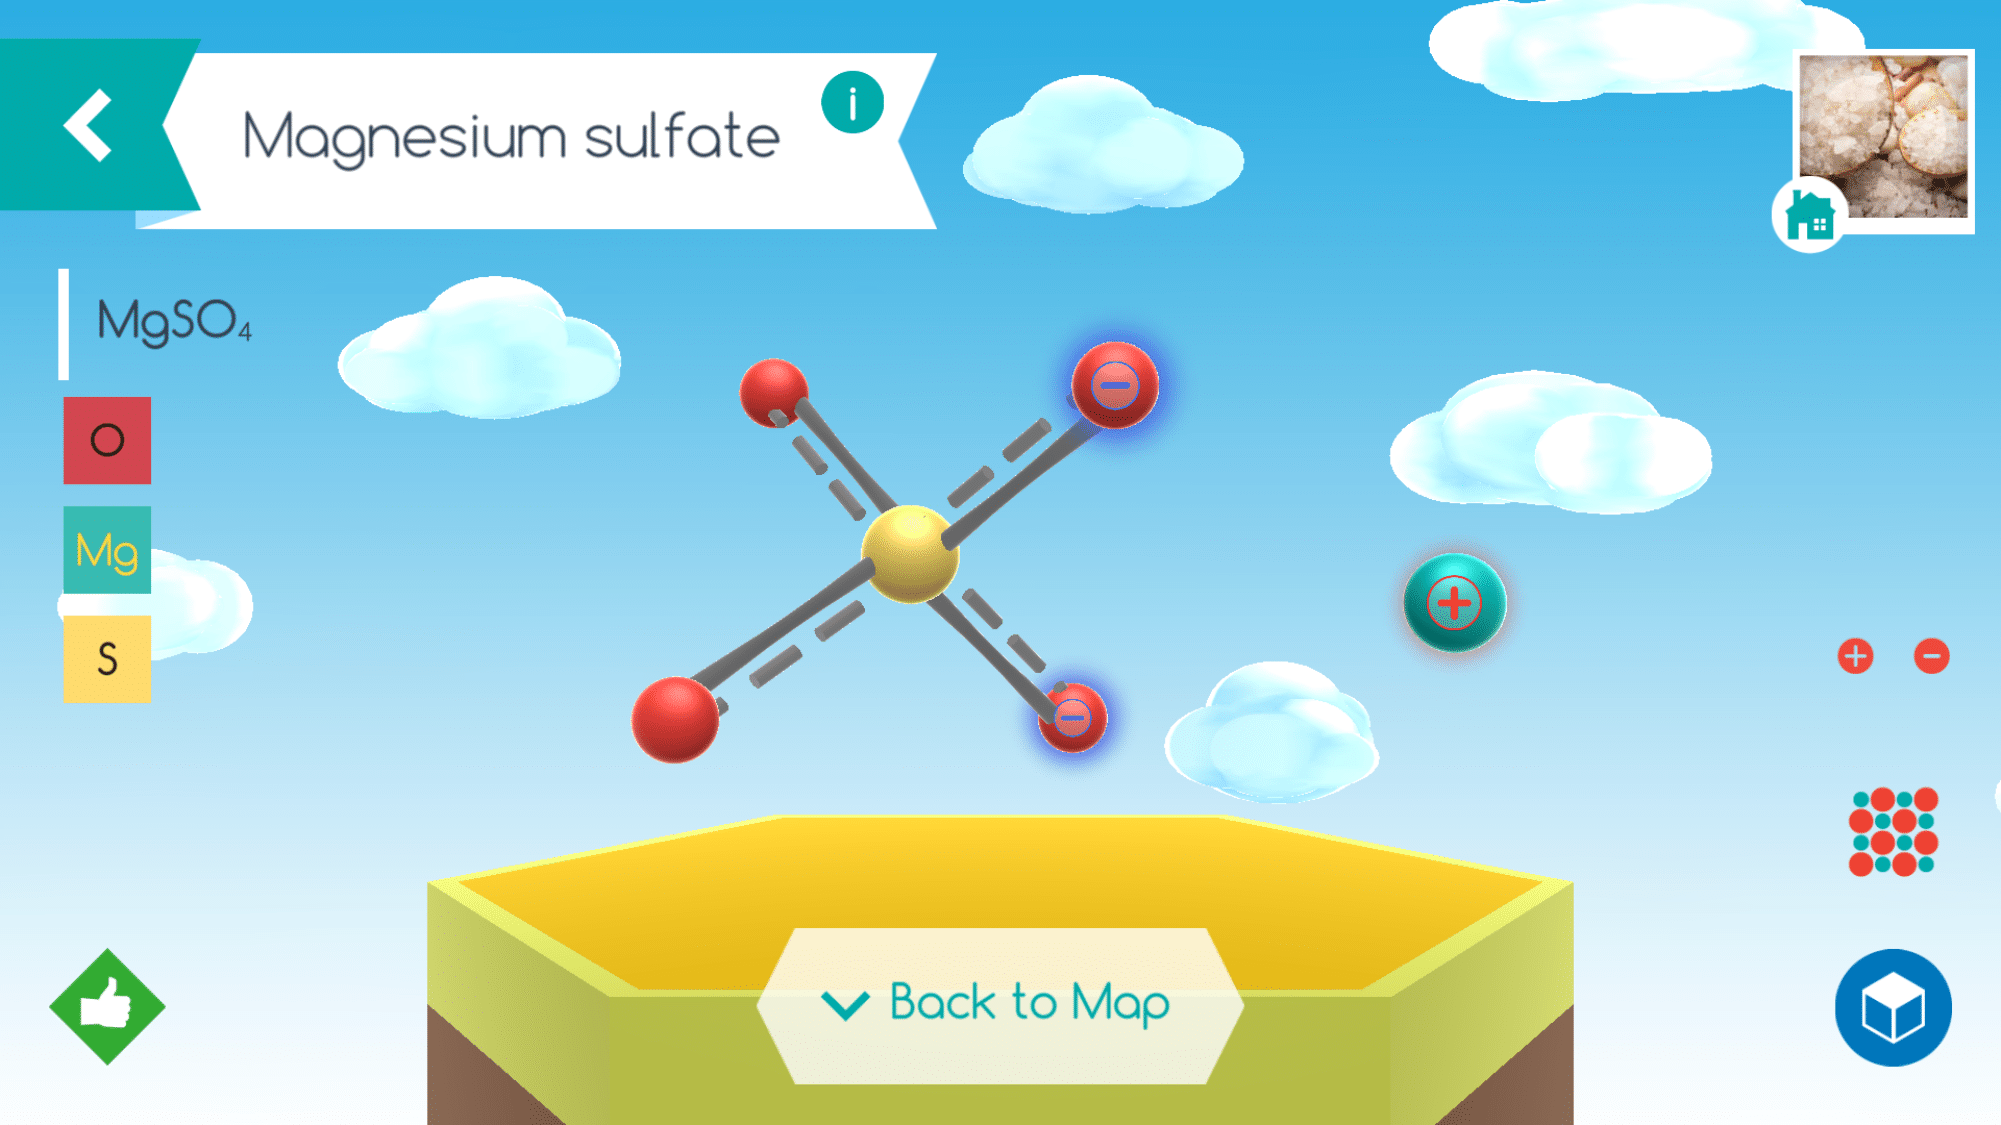
The digital app is user friendly and allows students to learn facts about the molecules they put together including the composition, systematic name, and how it exists in the world but just a tap of the different icons. Assembly instructions for specific molecules are also accessible as well as a Periodic Table of Elements.
Exploring Covalent Bonding with Home Science Tools
The lab materials and supplies from Home Science Tools have been critical to the success of this unit. I have been able to replace lab tools like my Digital scale which was mistakenly knocked off the counter a few months ago as well as discover new resources for extended studies.
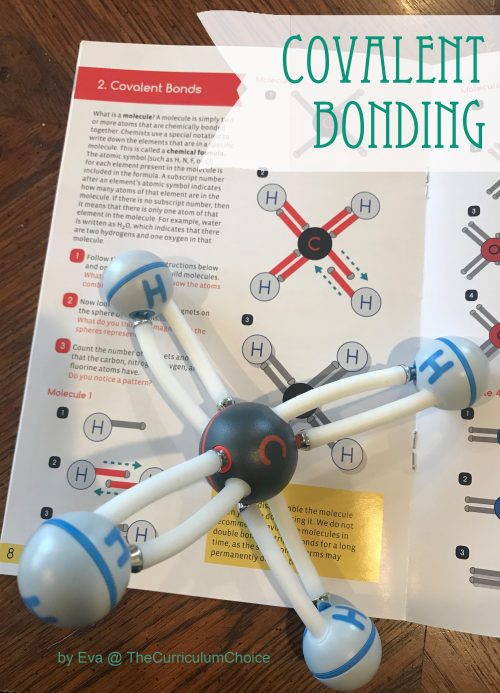
Irving Langmuir first introduced the term “covalence” in 1919 stating, “we shall denote by the term covalence the number of pairs of electrons that a given atom shares with its neighbors.” A covalent bond (sometimes termed a molecular bond) is a chemical link between two atoms or ions where the electron pairs are shared.
Covalent bonds form between two nonmetal atoms with identical or relatively close electronegativity values. The electron pairs that participate in a covalent bond are called bonding pairs or shared pairs. Typically, sharing bonding pairs allows each atom to achieve a stable outer electron shell, similar to that seen in noble gas atoms.
Two important types of covalent bonds are non-polar (or pure covalent bonds) and polar covalent bonds. Non-polar covalent bonds occur when atoms equally share electron pairs. Only atoms with the same electronegativity can engage in equal sharing. Examples of non-polar bonds are H2, N2, and CH4.
Polar covalent bonding is a type of chemical bond where a pair of electrons is unequally shared between two atoms. In a polar covalent bond, the electrons are not equally shared because one atom spends more time with the electrons than the other atom.
As the electronegativity difference increases, the electron pair in a bond is more closely associated with one nucleus than the other. If the electronegativity difference is between 0.4 and 1.7, the bond is polar. If the electronegativity difference is greater than 1.7, the bond is ionic.
Covalent Bonding Lab Activity
Pre-lab Questions
1. Write a short caption under each picture to describe the process of covalent bonding.

2. What are two conditions atoms must have in order to form covalent bonds with one another?
3. Why is a hydrogen molecule (H2) more stable than two individual hydrogen atoms?
4. Why can’t a third hydrogen atom join the H2 molecule to make H3?
Question to Investigate
What is produced when the covalent bond in water molecules is broken?
Materials for Each Group
- Happy Atoms Set
- 9-volt battery
- 2 wires with alligator clips on both ends
- 2 pencils sharpened at both ends (0.9mm mechanical pencil lead may also be used but extra care is necessary as the lead can break easily)
- Water
- Salt
- 150 mL glass beaker
- Tape
- Safety goggles
- Notebook and pencil
Procedure
- Place a battery between 2 pencils. Be sure that the battery is more than half-way up.
- With the help of a partner, wrap tape around the pencils and battery as shown.

- Add water to a clear plastic cup until it is about 1⁄2-full.
- Add about a 1⁄2 teaspoon of salt (~ 3.5 grams) to the water and stir until the salt dissolves.
- Connect one alligator clip to one terminal of the battery.
- Using the other wire, connect one alligator clip to the other terminal of the battery.
- Connect one end of the pencil lead to the alligator clip at the end of one of the wires.
- Using the other wire, connect one end of the other pencil lead to the alligator clip at the end of the wire.
- Place the ends of the pencil into the water as shown.
Post Lab Questions
5. What were the bubbles made out of in this activity?
6. Why was there more hydrogen gas produced than oxygen gas?
HINT: Use the Happy Atoms models to help you. Look at the number of hydrogen and oxygen atoms that bond to form a water molecule.
Extension Activities
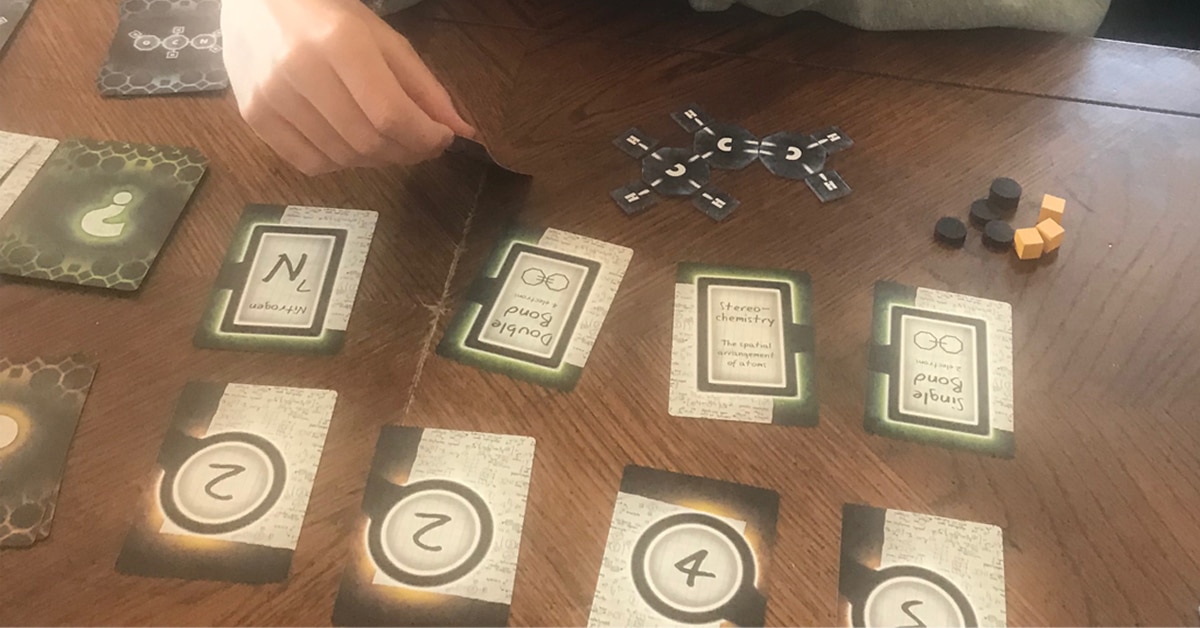
Covalence: A Molecule Building Game
Covalence is a fun, cooperative game where everyone is working together to solve the molecule puzzles. It has 4 difficulty levels; Easy, Medium, Hard, and “Chemist”. The molecules in the Easy, Medium and Hard versions of the game are all composed of C, O, N, and H. While the “Chemist” difficulty level adds Cl so the difficulty level increases the complexity by a huge amount.
Covalent Bonding Simulation Activity
Use this online simulation to investigate the attractive and repulsive forces that act on atomic particles and how the sharing of electrons can keep atoms together. See how two hydrogen atoms interact with each other to create a covalent bond. Learn about trends in the periodic table and how electrostatic potential energy determines the bond length.
Exploring Ionic Bonding with Home Science Tools
With this final lesson we are exploring ionic bonding by customizing a kit from Home Science Tools.
If you have ever mistakenly added salt to your iced tea, you know how similar salt and sugar appear. While these two compounds may look the same, they obviously taste very different.
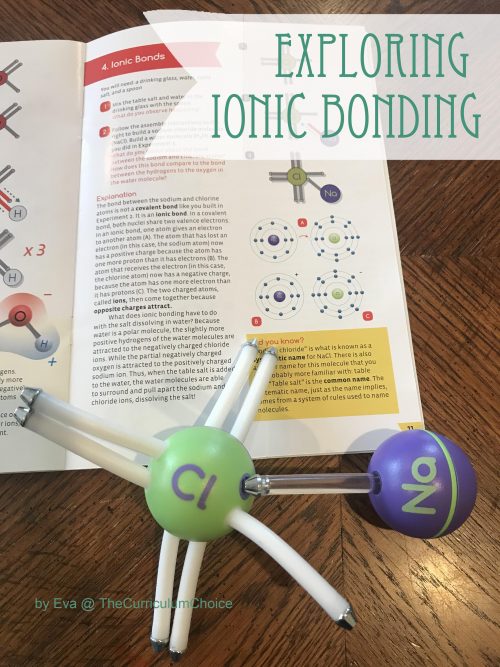
Salt and sugar are also very different chemically. Salt is made up of sodium and chloride and is ionically bonded. Sugar, on the other hand, is composed of carbon, oxygen, and hydrogen and has covalent bonds.
A salt molecule is made up of one sodium atom and one chlorine atom. For salt to be made, the sodium atom must lose an electron and become a sodium ion. When sodium loses an electron it becomes a Na+ and is called a cation.
Na→Na+ +e–
The chlorine atom must add the sodium’s electron and become a chloride ion. When it adds the sodium’s lost electron it becomes Cl– and is called an anion.
Cl+e– →Cl–
The sodium ion is then attracted to the chloride ion and a bond is formed from the attraction between a positive and negative ion. This type of bond is called an ionic bond. Ionic bonds usually form between metals and non-metals.
Na+ + Cl– → Na+Cl–
Ionic bonding is electrostatic attraction between oppositely charged ions, and is the primary interaction occurring in ionic compounds.
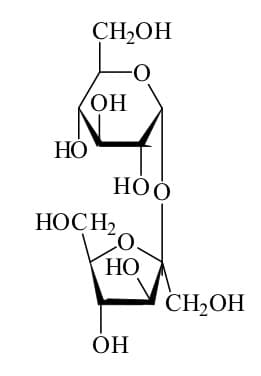
Table sugar or sucrose differs from salt in the bonding between its atoms. The atoms in sugar do not form ions; instead, they share their electrons.
As the electronegativity difference increases, the electron pair in a bond is more closely associated with one nucleus than the other. If the electronegativity difference is between 0.4 and 1.7, the bond is polar. If the electronegativity difference is greater than 1.7, the bond is ionic.
As you may recall from my previous post, the type of bond that forms from the sharing of electrons is a covalent bond. Table sugar has a much more complex chemical structure than those we discussed previously. It is also more complex than salt. It looks like this:
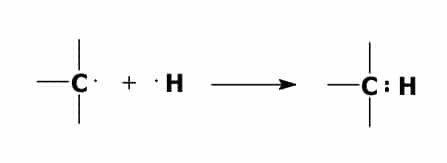
A bond forms between one of the carbon atoms and one of the hydrogen atoms when one of the valence electrons of the carbon atom combines with one of the valence electrons of the hydrogen atom. This forms an electron pair.
Ionically bonded compounds behave very differently from covalently bonded compounds. When an ionically bonded compound is dissolved in water it will conduct electricity. A covalently bonded compound dissolved in water will not conduct electricity.
Another difference is that ionically bonded compounds generally melt and boil at much higher temperatures than covalently bonded compounds.
Ionic vs Covalent Bonds Lab Activity
In the first part of this lab you will investigate how ionically bonded and covalently bonded substances behave differently in their conduction of electricity.
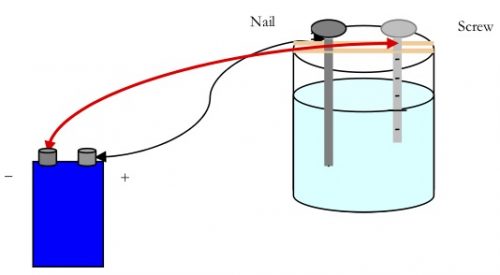
You will do this by using a simple anodizing apparatus. A stainless steel screw and an iron nail will be used for the electrodes. In an anodizing apparatus, the water must contain enough ions to conduct electricity. Then the water will react to form hydrogen and oxygen gases.
2H2O→2H2 +O2
Since the stainless steel screw is not very reactive, bubbles can be seen coming off of it. The iron nail will react with the oxygen to form iron oxide which is commonly called rust. This can be seen on the nail after the reaction proceeds for several minutes.
In the second part of this lab you will explore the differences in melting points between ionically bonded and covalently bonded compounds. You will do this by placing a small amount of sugar in one small test tube and heating it at different heights over a Bunsen burner. You will then repeat this procedure using salt instead of sugar.
Pre-lab Questions
1. What is an ionic bond?
2. What is a covalent bond?
3. Do you thing sugar or salt will melt at a higher temperature? Explain your answer.
Materials for Each Group
- Sugar
- Salt
- Digital scale
- 9-volt battery
- Masking tape
- Deionized water
- 2 wires with alligator clips on each end
- 1 stainless steel screw
- 1 iron nail
- 150 mL glass beaker
- Stirring rod
- 2 small test tubes
- Test tube clamp
- Burner lighter
- Alcohol lamp burner and fuel
- Safety goggles
- Notebook and pencil
Procedure for Part 1 – Nail Test for Ionic Bonding
In my previous post, we looked at covalent bonding with pencils. Today, we will do a similar activity.
- Rinse a clean 150 mL beaker several times with deionized water to prevent contamination from ions that may be on the beaker. Fill the beaker about 3⁄4 full with deionized water.
- With the digital scale, measure ~3.0 grams of sugar into the 150mL beaker. Stir the solution with a clean stirring rod until the sugar is dissolved and the solution is well mixed.
- Stretch two strips of masking tape across the top of the beaker. Be careful not to spill any of the solution. Position the tape parallel to each other.
- Attach an alligator clip on one end of a wire lead just underneath the flat head of an iron nail. Place the iron nail between the tape strips on one side of the beaker. The end of the nail should be in the solution while the head with clip is resting on top the tape.
- Attach the second alligator clip on one end of a wire lead just below the head of the stainless steel screw. Place the screw between the tape strips on one side of the beaker. Make sure the end of the screw is in the solution and the head with the clip is resting on top the tape.
- Connect the alligator clip on the other end of the wire lead that is attached to the nail to the (+) terminal of a 9-volt battery. CAUTION: Be careful when using energy sources such as batteries around water.
- Connect the alligator clip on the other end of the wire lead that is attached to the screw to the (-) terminal of a 9-volt battery.
- Allow the apparatus to stand for two minutes and make observations. Record your observations.
- Thoroughly clean the glassware, nail, and screw with deionized water.
- Repeat the procedure using ~3.0 grams of salt instead of the sugar.
Procedure for Part 2 – Melting Points
- Place ~3 grams of sugar into a small test tube. The sugar should just coat the bottom of the test tube. CAUTION: Be sure the test tube does not have any small cracks or chips.
- Light a Bunsen burner and adjust the flame to where it is approximately 2-3 inches tall and has a blue inner cone. CAUTION: Long hair should be tied up and loose clothing restrained when around an open flame to prevent fire and burns. Be sure you are wearing your safety goggles.
- Place the test tube containing the sugar in a test tube holder. Hold the test tube at a slight angle approximately 4 inches above the top of the burner. Continue to hold the test tube in the flame until the sugar just begins to melt. If it does not melt after ~15 seconds, go on to step 4. If it has melted, go to step 6. HINT: If you keep the sugar in the flame until it turns dark brown or black, you will not be able to clean the test tube.
- If the sugar did not melt in step 3, lower the test tube until the bottom of the test tube is touching the top of the flame. Hold it there until the sugar just begins to melt or for ~15 seconds.
- If the sugar still does not melt, lower the test tube until the bottom of the test tube is located at the top of the inner blue cone of the flame. This is the hottest part of the flame. Hold it there until the sugar just begins to melt or for ~15 seconds.
- Allow the test tube to cool to room temperature before touching it. CAUTION: The test tube will be very hot and can burn your skin if touched before it cools. After the test tube has cooled for a few seconds, place it in a beaker or wire test tube rack to finish cooling and continue with the procedure.
- Record your observations.
- Repeat the procedure using salt instead of the sugar.
- Turn off the Bunsen burner. Make sure the test tubes have cooled to room temperature before touching them.
Clean-up
The sugar and salt solutions can be poured down the drain. Rinse the beaker, screw, nail, and stirring rod several times with deionized water. Clean the test tubes with water first and then rinse them with deionized water. They may need to soak for a few minutes in hot water in order to remove the melted substances.
Post Lab Questions
4. Why is deionized water instead of tap water used in Part 1?
5. In Part 1, why did you not observe a stream of bubbles coming off of the stainless steel screw with the sugar solution?
6. Why do you think you may see a few bubbles forming in Part 1 with the sugar solution?
7. In Part 1, why did you observe a stream of bubbles coming off of the stainless steel screw and rust forming on the nail with the salt solution?
8. In Part 2, which of the substances had the lower melting point? Was this what you expected? Explain your answer.
Extension Activities For Homeschool Chemistry
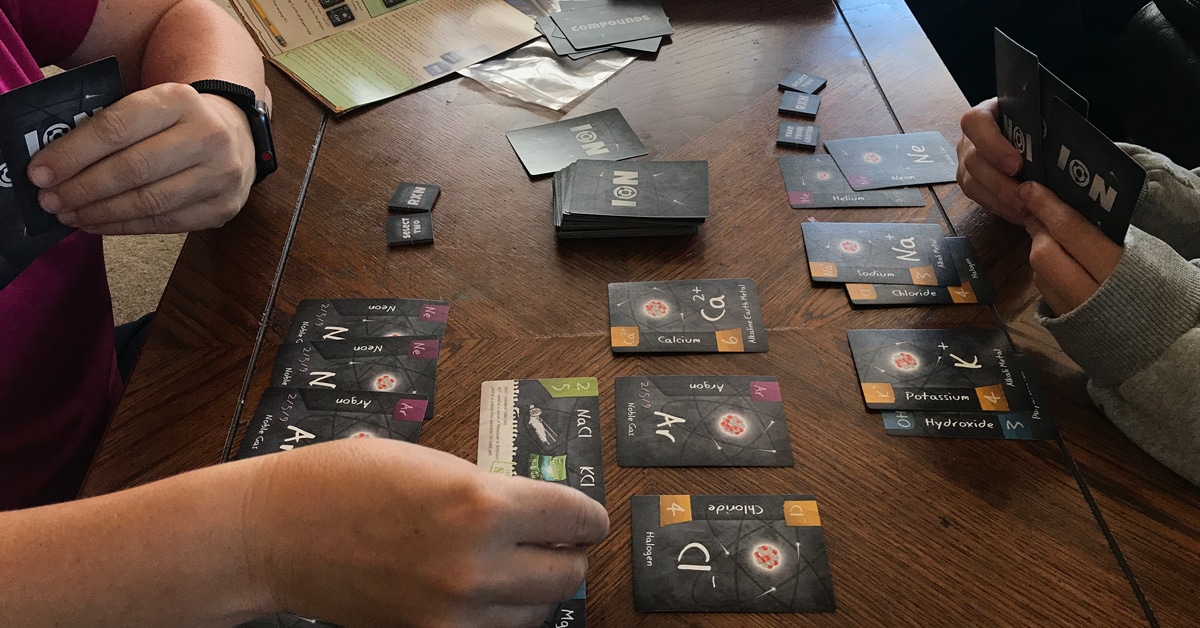
ION is a light, fun drafting game similar to Sushi Go! where you are drafting cards over several rounds with the goal of combining positive and negative ions to form compounds. You don’t need to know anything about chemistry to be able to play, but it does make it fun to know what compounds you are building.
Use this online simulation to explore ionic bonding—a type of chemical bond formed between two ions with opposite charges. Investigate how the transfer of electrons between atoms creates ions and how the mutual attraction of these charged particles forms ionic bonds. Also learn about trends in the periodic table of elements, and explore how the structure of an ionic compound relates to its formula.
More Chemistry Resources

The Ultimate Guide to Homeschool Science – Full curriculum options, supplemental resources and more! Both secular and Christian options as well!



Leave a Reply