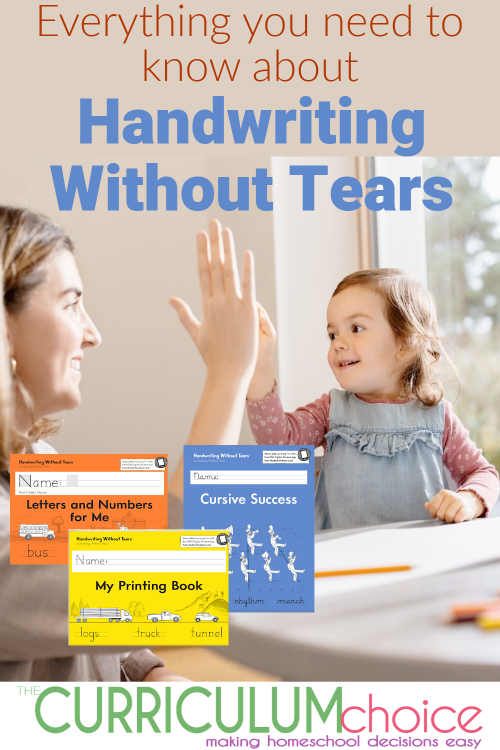
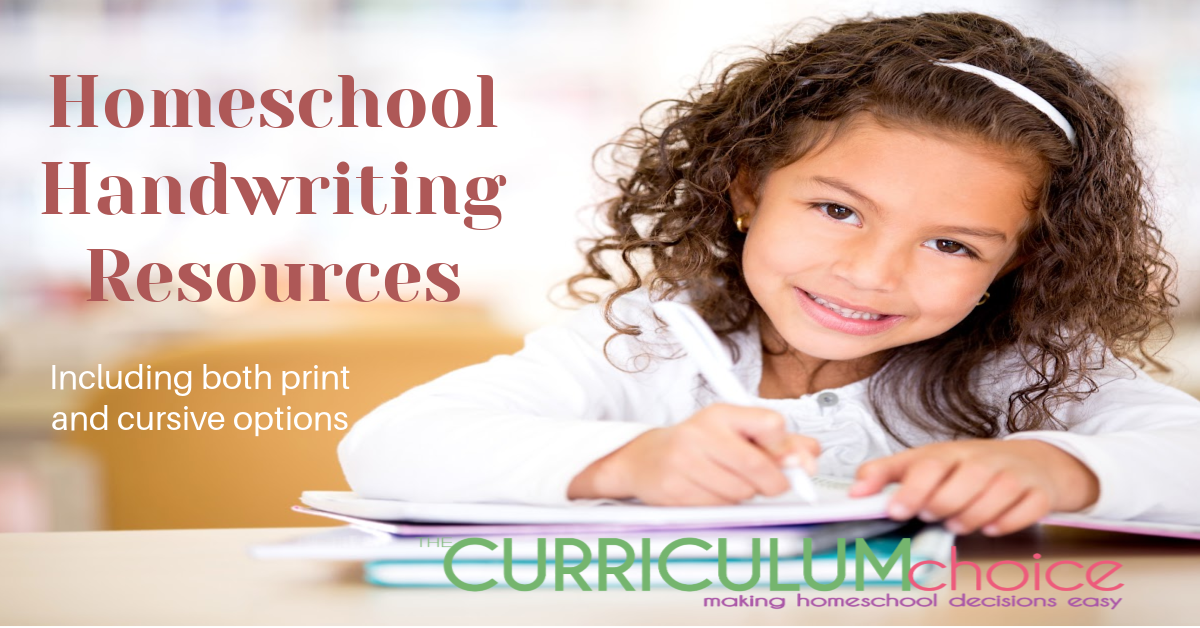
Are you looking for a way to teach handwriting to your little one? Maybe you are looking for a cursive writing curriculum? Either way, you should check out all that Handwriting Without Tears has to offer!
This is not only a guide to all things Handwriting Without Tears, but also several of our Curriculum Choice authors share their personal experiences using Handwriting Without Tears in their homeschools.
What is Handwriting Without Tears?
Handwriting Without Tears (HWT)is a handwriting program created by an occupational therapist. It is a 40 year program with proven success for thousands of students. From emergent writing in Pre-K to Cursive mastery in fifth grade, Handwriting Without Tears helps students develop fluent writing success through explicit handwriting instruction.
Levels of Handwriting Without Tears
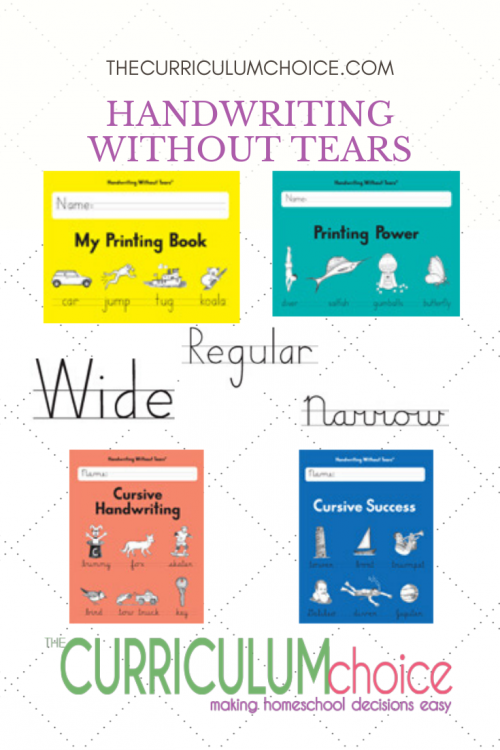
There are seven levels available starting in the Pre-K/K level up to 5th grade.
1. Letters and Numbers is recommend for Kindergarten.
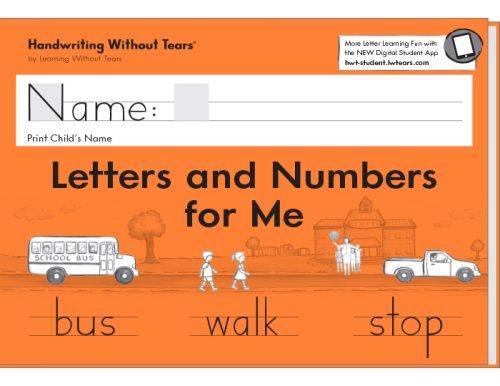
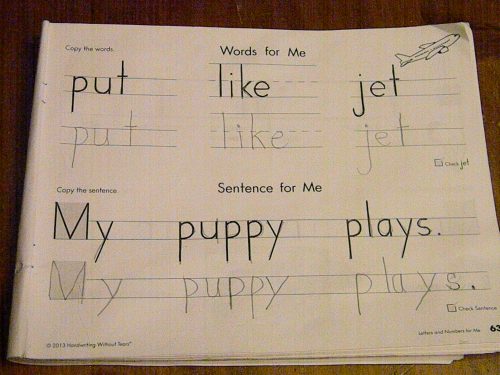
Letters and Numbers for Me is where Kindergarten students, or those working at that level, learn capitals, lowercase letters, numbers, words, and sentences. Activities form good handwriting habits and develop strong writers.
A Review of Letters And Numbers By Kyle
When we first began our Handwriting Without Tears journey I read a lot of the kindergarten manual. But after that I have never read or used a teacher’s manual with this curriculum. You may want to but I just haven’t found it to be necessary.
We have a lot of optional items that we use with this program (See the Hands-On Materials section down below) but you really only need the book and a pencil to do this. Keep in mind I’ve done this with five children, including one with special needs and one with learning disabilities.
How we use it in our home:
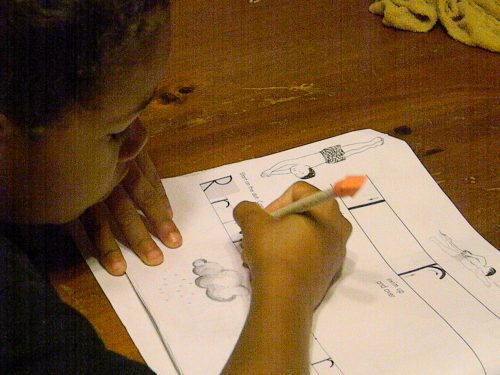
- First I demonstrate how to follow the instructions HWT provides for creating each letter.
- During the first semester I often had the children make the letters using either the wood pieces, roll a dough or stamp & see.
- After about 1/4 to 1/2 of a year they start being able to follow the instructions themselves. I then just hover to make sure they are writing the letter correctly and in the correct order. HWT tells them which lines or curves to draw and in which order.
HWT provides clear instructions for letter creation. So clear in fact that my five-year-old boy completes his handwriting independently and well. We run the gamut on the kind of learners that we have! HWT has served each of our unique children well. It is also very easy for the teacher to use. ~ Kyle
2. My Printing Book is recommended for 1st grade.
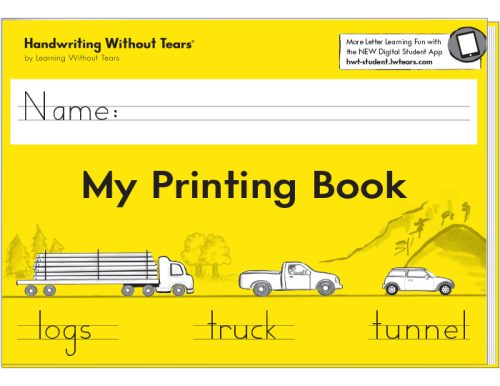
My Printing Book gives your students opportunities to review their printing abilities and reinforce other language skills such as grammar, writing paragraphs, and recognizing key word roots. The hands-on material is also suggested for this grade. There is the 4″x6″ slate chalkboard used to practice making letters. (See more about the chalkboard down below)
3. Printing Power is recommended for 2nd grade.
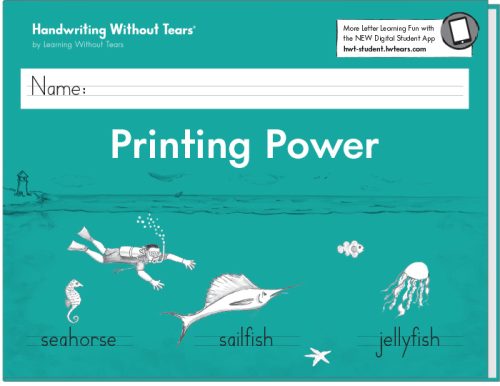
With Printing Power the student continues to master his printing skills with advanced paragraphs, poems, and language arts activities using single line practice pages. With Learn & Check, teachers and students can seamlessly review letter, word, and sentence skills. Combine your handwriting instruction with punctuation, paragraph, poem, and language arts.
4. Or you can choose Cursive Kickoff 2nd grade.
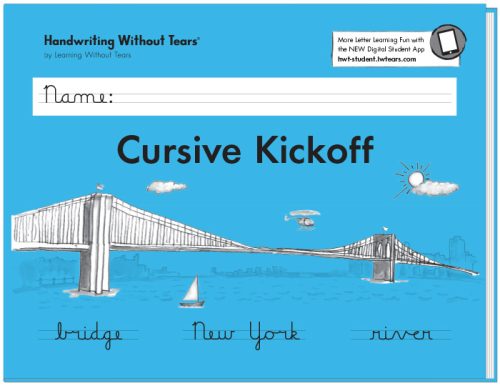
Cursive Kickoff is the first book that teaches cursive, it facilitates an easy transition from printing to cursive. Cursive Kickoff gives second grade students the option of beginning cursive instruction earlier. After a quick review of print, lessons progress to teaching cursive letters in developmental groups based on formation.
5. Cursive Handwriting is recommended for 3rd grade.
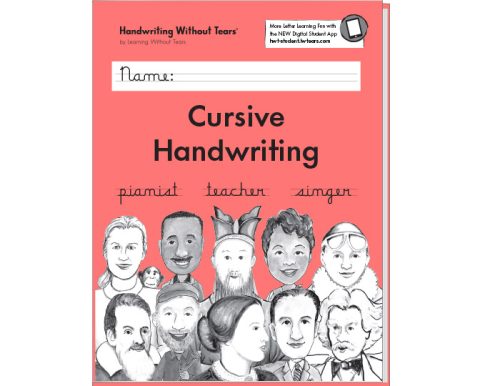
With Cursive Handwriting for 3rd graders they will easily transition from printing to cursive with fun, engaging warm-ups. Students cover cross-curricular lessons that focus on paragraphs, poems, and composition with incorporated letter review for words and sentences.
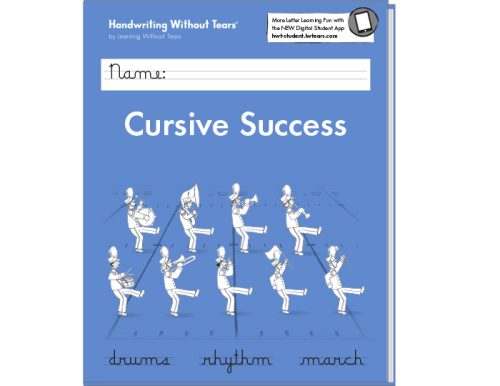
6. Cursive Success is recommended for 4th Grade
With Cursive Success students develop cursive fluency with lessons that feature advanced language arts and cross-curricular activities. Review & Mastery pages help your students practice their cursive handwriting while giving them opportunities to review letters and connections.
A Review of Cursive Success from Stephanie
The Cursive Success book focuses on making cursive letters connect and forming them into words and sentences. The publisher recommends these workbooks for 3rd and 4th grade but if you feel that your child is ready then I am sure they could be used in the earlier grades as well.
HWT Cursive Success workbook contains the following sections:
- An introduction.
- A warm up for basic letters and connection of letters to make simple words.
- More difficult cursive letters, special letter connections (ex. o, w, v, b) and more complex words.
- Capital letters.
- Activity Pages which apply cursive to real writing of sentences and paragraphs.
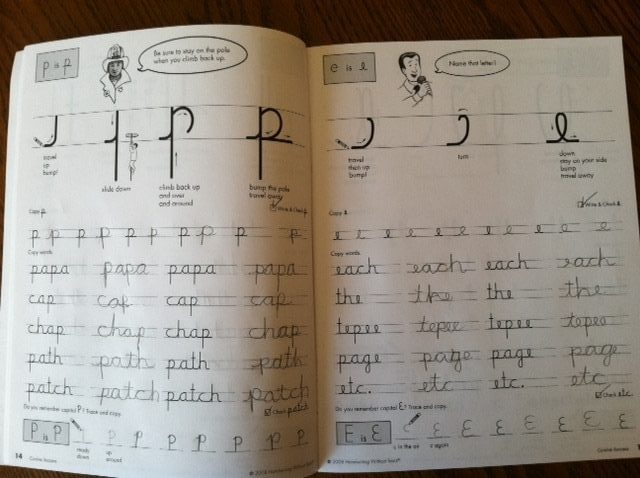
The first fifty-five pages review and give instruction for the lower case letters. Then capital letters are covered.
And in addition to all this, the last 20 pages incorporates grammar concepts such as: compound words, synonyms and antonyms, homonyms, use of contractions and apostrophes, poems, similes, use of quotations, acronyms, dictionary definitions, and more.
This really impressed me because the curriculum doesn’t just go through the letters and random sentences to copy but applies cursive to real writing skills. This is so important because the objective of handwriting skills is to help children write proficiently enough to aid them in all their studies. All the while, it never loses the feel of a handwriting text so you never find yourself somehow teaching grammar instead of doing a handwriting lesson.
What Sets Handwriting Without Tears Apart From Others Is It’s Vertical Style Approach
What I believe sets this curriculum apart form all others is its ease of use. It truly does take the tears out of handwriting. It uses a vertical style approach and most children develop a vertical stroke first when learning to print, so it is much easier for a child to transition from print to this form of cursive. ~ Stephanie
7. Can-Do Cursive is recommended for 5th grade.
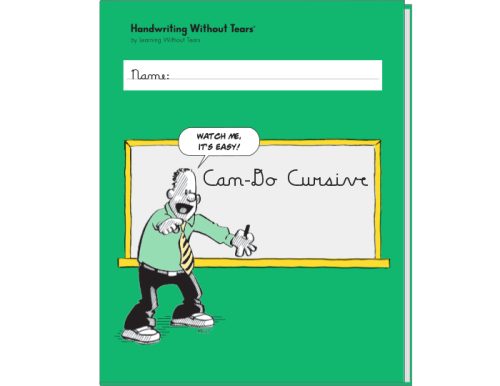
Practice makes perfect when it comes to cursive writing. Can-Do Cursive is perfect for the child who needs another year to master their cursive writing skills. Designed for fifth grade students and above, Can-Do Cursive gives your students opportunities to review their handwriting abilities and reinforce other language skills such as grammar, writing paragraphs.
Real Life Example Of Using Handwriting Without Tears (Daughter Is a Lefty!)
We started using Handwriting Without Tears right from the beginning of when we started homeschooling. It has proven to be an excellent program in our home. The beauty of the curriculum is how simple it is for the child to learn! We started using the program at the 1st grade level. My daughter is a lefty and I knew I wanted a handwriting program that would help her to write beautifully.
What is a typical lesson like? It is a simple program to implement. My children do 1-2 pages for each lesson. Each new skill is clearly taught in the child’s book. HWT uses simple explanations for each new skill. In the lower grades, HWT uses “magic bunny” to show how to make new letters.
In the older grades, HWT continues to use simple explanations and drawings that the child can easily understand. The lessons are short and can be done in 15 minutes or less! The teacher guides provides tips and activities for each lesson.
About HWT Unique Writing Paper
Their unique writing paper is unlike any other handwriting program. The writing paper does not have the typical three lines with the middle line being a dotted line. HWT believes typical handwriting paper causes line confusion for many students.
HWT created writing paper with only 2 lines.
- The bottom line keeps the child’s writing straight.
- The second line called the mid-line controls the size of the letters.
HWT believes by having only 2 lines will cause less confusion for the child.
3 Different Paper Levels:
- wide double line
- regular double line
- narrow double line
Handwriting With Tears Hands-on Materials
The Handwriting Without Tears Hands-on materials are multi-sensory materials designed for children who are getting ready to learn to write and for those who are developing their handwriting skills.
Shannon says, “I have used these with my children starting at age three, and even my oldest at age seven still enjoyed and benefited from using them.”
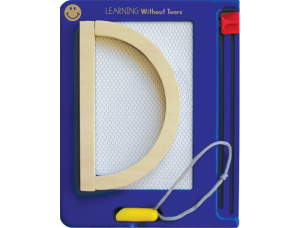
Capital Letter Wood Pieces

These are used to teach formation of the capital letters.
For example, students learn to take a “big line”, put it on the left, then add a “big curve” on the right to make the letter “D”.
The wood pieces are also used to teach children how to make “Mat Man”, a simple stick figure person.
Children also learn positional concepts such as top, middle, bottom, left, and right as you use the pieces with them. This vocabulary, as well as “big line”, “little line”, “big curve” , “little curve”, is used in teaching letter formation with all of the HWT products.
Stamp-and-See-Screen
Shannon says, “My children have enjoyed all of these HWT materials over the years, but the Stamp-and-See is probably their absolute favorite.”
This is a 4″ x 6″ magnetic screen that comes with a set of four magnetic wood pieces (big line, little line, big curve, little curve), and a chalk-sized magnetic writing tool.
You use the laminated cards that come with the roll-a-dough set, place one on the magnetic screen, and then use the magnetic wood pieces to stamp the letter on top of the card. When you remove the card, voila – you have made the letter!
After working with the magnetic stamps, you can then use the writing tool to trace over the letter card. Once again, when you remove the card, you can see the letter that you’ve made. I want to mention that the writing tool is the size of a small piece of chalk. Handwriting Without Tears encourages using short pencils and pieces of chalk to help children achieve a correct pencil grip as they are learning to write. This approach has worked wonders with my own children’s pencil grips.
Roll-A-Dough Letters
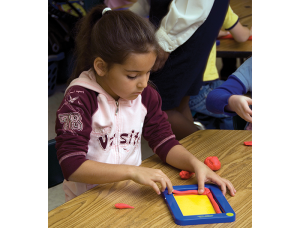
This product includes a 4″ x 6″ plastic tray, a set of 18 double-sided, laminated capital letter and number cards, and a container of dough.
A letter or number card is placed in the plastic tray, and then the child forms the dough into the shapes needed to make the letter and places them over the letter card.
The dough is terrific for strengthening finger and hand muscles, as children roll, push, and shape the dough into “snakes” to form their capital letters. The tray can also be used for letter practice with rice, shaving cream, or sand.
(Shannon says, “Occasionally I am brave enough to do the “messy” stuff because my children are such tactile learners and really do enjoy it. I just make sure there is a plastic tablecloth underneath the work surface for easy clean-up.)
Slate Chalkboard
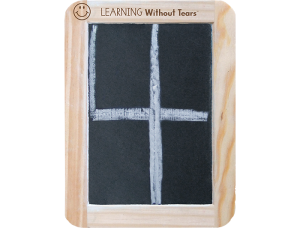
This is another favorite in Shannon’s home. It’s a 4″ x 6″ slate in a wood frame with a smiley face in the top left-hand corner. The smiley reinforces top, bottom, left, and right, and also reminds children to start their letters at the top.
The chalkboard is used in combination with a method called “Wet, Dry, Try” to teach letter formation.
First the teacher writes the letter with the chalk, the child uses a wet sponge and makes the letter strokes to erase the letter, and then uses his finger to trace over the wet strokes. Then the child uses a paper towel to dry the wet strokes. Finally, the child gets to use the chalk to write the letter. The child has practiced writing the letter four times using four different methods and typically has had fun doing it!
Hands-on Materials: The Bottom Line
Shannon says, “Using this tactile approach with all the handwriting Without Tears Hands-on Materials to teach letter formation has helped my children to gain confidence in their handwriting skills while having fun at the same time.”
Purchasing Handwriting Without Tears
Handwriting Without Tears is a no-fuss program that is simple to use and very affordable. You can purchase everything you need right from their website.
The Student Books are $12.45 a piece.
Teacher Guides are $24.99 each. The teacher guides are simple but do provide plenty of instructions, tips, activities, and lesson plans. Korey says, “As homeschool moms we often ask “Do I even need the teacher’s guide?” I do recommend using the TG to get the full benefit of the program. There are manipulatives available for all the grade levels. As the parent you can chose to incorporate the manipulatives or not. The manipulatives are wonderful for a tactile learner.”
Bundles – Plus they offer a variety of money saving bundles.
More Handwriting Options For Your Homeschool
20 Top Handwriting Resources for Your Homeschool – Even in this digital age, being able to clearly handwrite and read handwriting is an important skill. Most public schools no longer teach cursive. So how will kids learn to sign their name? How will they read things like their grandparents letters, old documents, etc.? This collection of Homeschool Handwriting Resources is designed to help you teach your children to legibly write in print or cursive.

LOVED this review!
I’ve been wondering about this program. Thanks for the review.
HWT is by far the best handwriting curriculum that we have ever used–and we have tried many! I am just sorry I didn’t know about it 15 years ago when we started our homeschooling journey.
I will say that the one drawback of the program is that I found it difficult to find my way around in it at first. There is so much information to absorb. I would have preferred a format that had Lesson 1 and suggest game/activity/practice for each day instead of pages and pages for me to read and try to absorb as a teacher. Philosophy notes could be inserted throughout the text with an TOC for that, too. I taught handwriting in the public school for years but just found this program while homeschooling my daughter. I’m on week 2 of using the K version and I do think it is the best and already purchased the PK to use with little brother.
Unfortunately I do not agree with the majority of reviews of this program. I find absolutely no reason to not integrate the learning of letter formation with the knowledge of letter names and sounds. The heirarchy of learning submits that first, children learn to listen as infants, later begin to speak, they they begin to apply that knowledge of speaking and sounds to the abstract symbols of letters. Following this extremely challenging process, is the ability to put those sounds together within text along with understanding that text’s meaning. Once this begins, the children are able to begin to write their letters with meaning. It is absolutely beyond me as to why this program initiates teaching the children upper case letters first when all of written print for the children to read consists of a majority of lower case letters. If the reason is merely because, “it’s easier,” a new reason needs to be found.
I too thought that kids should learn the lowercase letters first since the vast majority of what they read and write will be lowercase. Then I began teaching my daughter to print her letters. After over a year, I finally realized my stubbornmess on this issue was a stumbing block on HER path to learning to print.
Truly, “it’s easier” is the only reason needed to teach uppercase first. Kids develop fine motor skills at vastly different rates. The uppercase letters are simply easier to write and mastering them gives kids a confidence boost, encourging them to continue learning to write. Forcing kids with average or even lagging fine motor skills to try to master lowercase letters first is almost cruel.
Now, why should learning to form the letters be separate from learning the letter sounds? Same reason – kids gain the necessary fine motor skills at vastly different rates that are not related to their developmental abiltiy to learn to read. My daughter could recognize all of the alphabet and knew her letter sounds at 2.5 years. She was sounding out words by the time she turned 3.5 and is reading at an early first grade level now at 4.5 years. But she only just developed the fine motor skills necessary to draw decent lines and curves. Should I have held off on teaching her to read? Of course not. And if she HAD been ready to learn to write as she was learning her letters, then I could have easily integrated the two lessons myself.
Just wanted to say that you’ve some awesome content on your weblog. If it is OK I wants to use some of the information you supplied on my web site. If I link back to your web site would it be OK to do so?