Designing your own unit study is easier than you think, and offers a unique style of learning that is hands-on, rich and meaningful.

PLEASE NOTE: This is a follow up to an article I wrote, Using the Unit Study Approach. If you’re unfamiliar with unit studies and want to learn more about them, I suggest reading the first article before you delve into this one.
Designing Your Own Unit Study
As I mentioned in my last article, designing your own unit study does not have to be a scary prospect. You know your students’ personalities, learning styles, and needs better than anyone, so that makes you the ideal candidate for putting together a unit for your students.
The process does not have to be complicated, although it will require some of your time. When you are finished, you’ll see your investment pay off, as you’ll have a tailor-made study that your family can enjoy exploring together.
This is typically how I go about planning our unit studies:
1. Chose a Topic
Follow your students’ interests. Ask your children what they would like to learn about. If that is too open-ended for them, or you want to have more control over which topics you cover during your school year, then give your students a list to choose from. Obviously, in a family with multiple children this can get tricky. The point of unit studies is not to have three different ones going at the same time. (I guess you could, but personally, I couldn’t pull it off.)
One of the benefits of unit studies is that all of your students can be included and you can learn about the same topic together as a family. So, when more than one child is involved in choosing a topic, you have to either vote on a favorite topic, take turns choosing a topic, or use some other democratic process in order to keep people happy.

Choose the topic yourself. If you do this, I encourage you to choose with an eye toward capturing your students‘ interest. Remember that a great benefit of unit studies is their usefulness in nurturing your child’s love of learning. Take advantage of that benefit!
Work around a fieldtrip or vacation. If your home school group is going on a certain field trip or you are a planning a family vacation that will include an educational stop, then you could do a unit that encompasses that particular place. For example, if you’re headed for Cape Kennedy, Florida, then your trip would be extra meaningful if you studied Space Exploration or the Solar System. If possible, try to get a good start on your unit or complete it before your trip. This increases the educational value of your visit because you and your children have gained some prior knowledge of the subject before you arrive. Be sure to check the website of wherever you’ll be visiting. Many places have teacher sections on their websites with activities and lesson plans that you can download for free and use in your study.
2. Gather your Resources

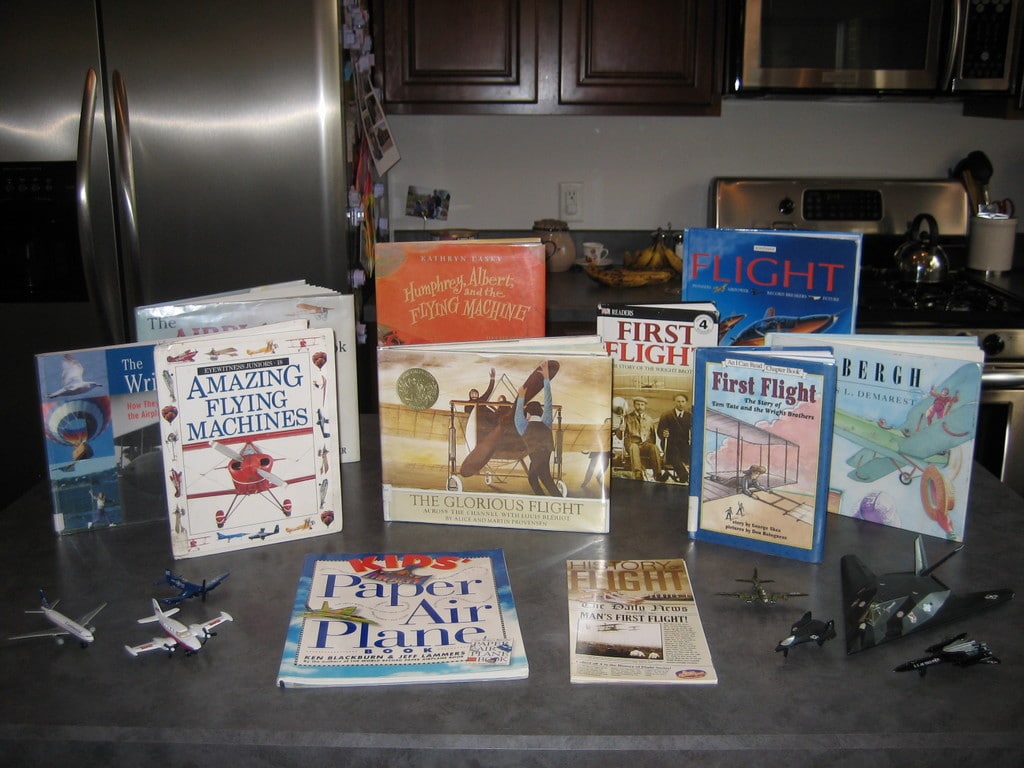
Use your local library. Do a keyword or subject search of your library’s online catalog. You can narrow your search by including “juvenile literature” along with “solar system” (or whatever your chosen topic is) in the search field. You’re not only looking for non-fiction books but also quality children’s fiction that will appeal to the different ages you are teaching. Don’t worry about checking out too many books. You can always return the ones that you don’t find useful. Also, some libraries carry special resource or activity kits to correlate with certain topics or children‘s books. Ask your librarian if these are available at your library. And don’t forget to take advantage of inter-library loan services.
Google your topic. My searches often look something like, “solar system elementary unit” or “solar system second grade lesson plans” or “solar system home school unit” or “solar system children’s books”. You’ll come up with ideas for learning objectives, activities, book recommendations, projects, and more.
Scan your shelves. See if you have any books, materials, or other resources pertaining to your unit. When I was preparing a unit on weather, I looked in my book closet to find an entire book of weather activities I had forgotten about. During our gardening unit this spring, I pulled out a “Root-View” Science Kit that someone had given the kids as a Christmas gift. It ended up being the focal point of our study.
3. Designing Your Own Unit Study: Plan the Unit
Learning Goals: Decide what you want your students to learn about the topic. Ask yourself “the 5 W’s and an H” – who, what, when, where, why, and how. For example, in a unit on the Solar System, some goals might be to learn when God created the solar system, the names of the planets and their order, the life cycle of a star, the definitions of rotate and revolve, the names of three famous astronauts and their missions, a timeline of the space race, the purpose of the space race, and the definition of a sphere.
Incorporate as many of the subject areas into your unit as possible. In the learning goals listed above, I covered science, history, and math. Writing could easily be included by having your student write a short biographical sketch of one of the astronauts or a creative paragraph about your student’s imaginary trip to the moon. Reading is the backbone of all of our units. I do lots of read-alouds with everyone, but I also make sure that my reader has the opportunity to read at least one or two easy books about our topic. (During our unit studies we continue our regular math and reading curriculum.)
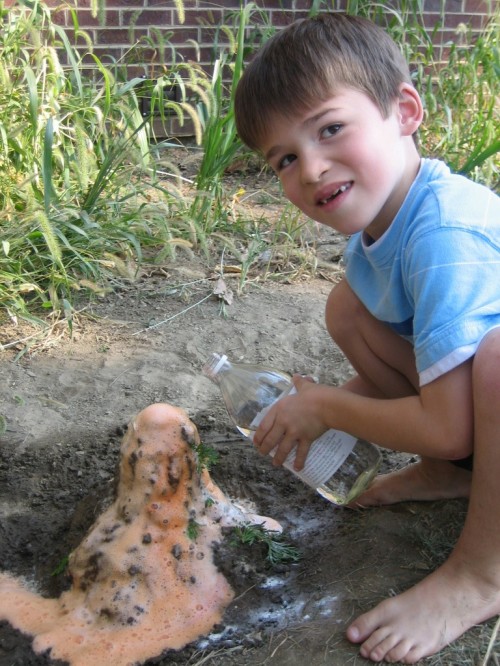
How your students will learn the material. You have endless choices, so I’ll share some of our favorites: reading living books (quality literature) and discussing what we‘ve read, doing science experiments, using a timeline, doing hands-on projects, and taking field trips. Remember that activities do not have to be elaborate or labor-intensive for Mom in order for learning to take place.
If you want your students to demonstrate what they’ve learned, how will that be accomplished? Again, your choices are endless: put together a lapbook or notebook, give an oral presentation, write a report, cook a meal, write a play and act it out, write a poem or a song, narrate a story, make a model, and the list goes on
4. Schedule It
I decide how long I want to spend on the unit, and then sit down with my lesson plan book to schedule which activities we’ll do when, making sure that there is some sort of logic to the order of my plan. (For example, you would probably want to learn the names and order of the planets before covering how many moons Jupiter has.) Even though I like to have a plan when designing my own unit study, I also try to remain flexible and willing to go down a rabbit trail every now and then.
I have a few more unit study odds and ends to share with you. I wrap up this series with the third and final article: Unit Study Documentation & Resources.
More on Unit Studies

Be sure to check out all 3 articles in the Using the Unit Study Approach series:
- Using the Unit Study Approach
- Designing Your Own Unit Study {This Post}
- Unit Study Documentation & Resources
Also COMING SOON! Our Ultimate Guide to Using Unit Studies in Your Homeschool.
Originally published July 2009, written by Shannon.

This is such a great step-by-step process that you have outlined for us. I like that you recommended covering several subjects within your units. I think it is important to mention that you should not try to include ALL subjects and you should vary the subjects each time, so they do not become tedious. Also, I think units should be 8-12 weeks to get the most out of a study. What do you think?