Have you ever wondered if your child was understanding and comprehending what they were reading? My oldest son was a…
Read More
Making homeschool decisions easy
Have you ever wondered if your child was understanding and comprehending what they were reading? My oldest son was a…
Read More
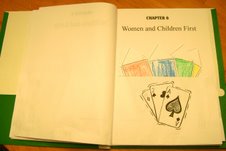
Tapestry of Grace is an award winning program that has repeatedly gained a name for itself among the top three…
Read More
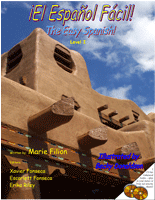
This past year we finished up The Easy Spanish or El Espanol Facil! Level I. I found the link through…
Read More
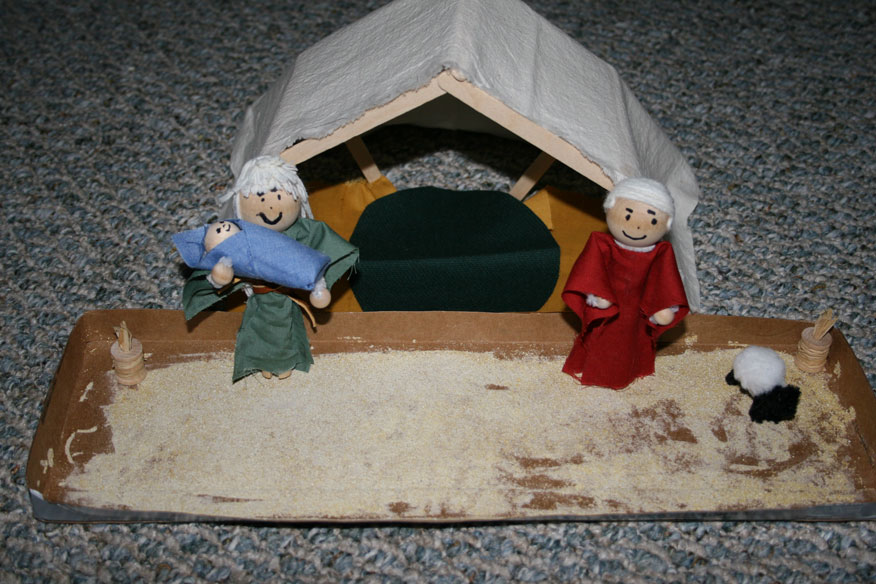
This is one of my new favorite books in regards to Biblical reasoning with your children. It is not a…
Read More
I’d like to start off with a little background before I give this review because I think that understanding the circumstances can be…
Read More
Character Building For Families Here is a typical scenario in my house: One of my sons decides he wants to…
Read More
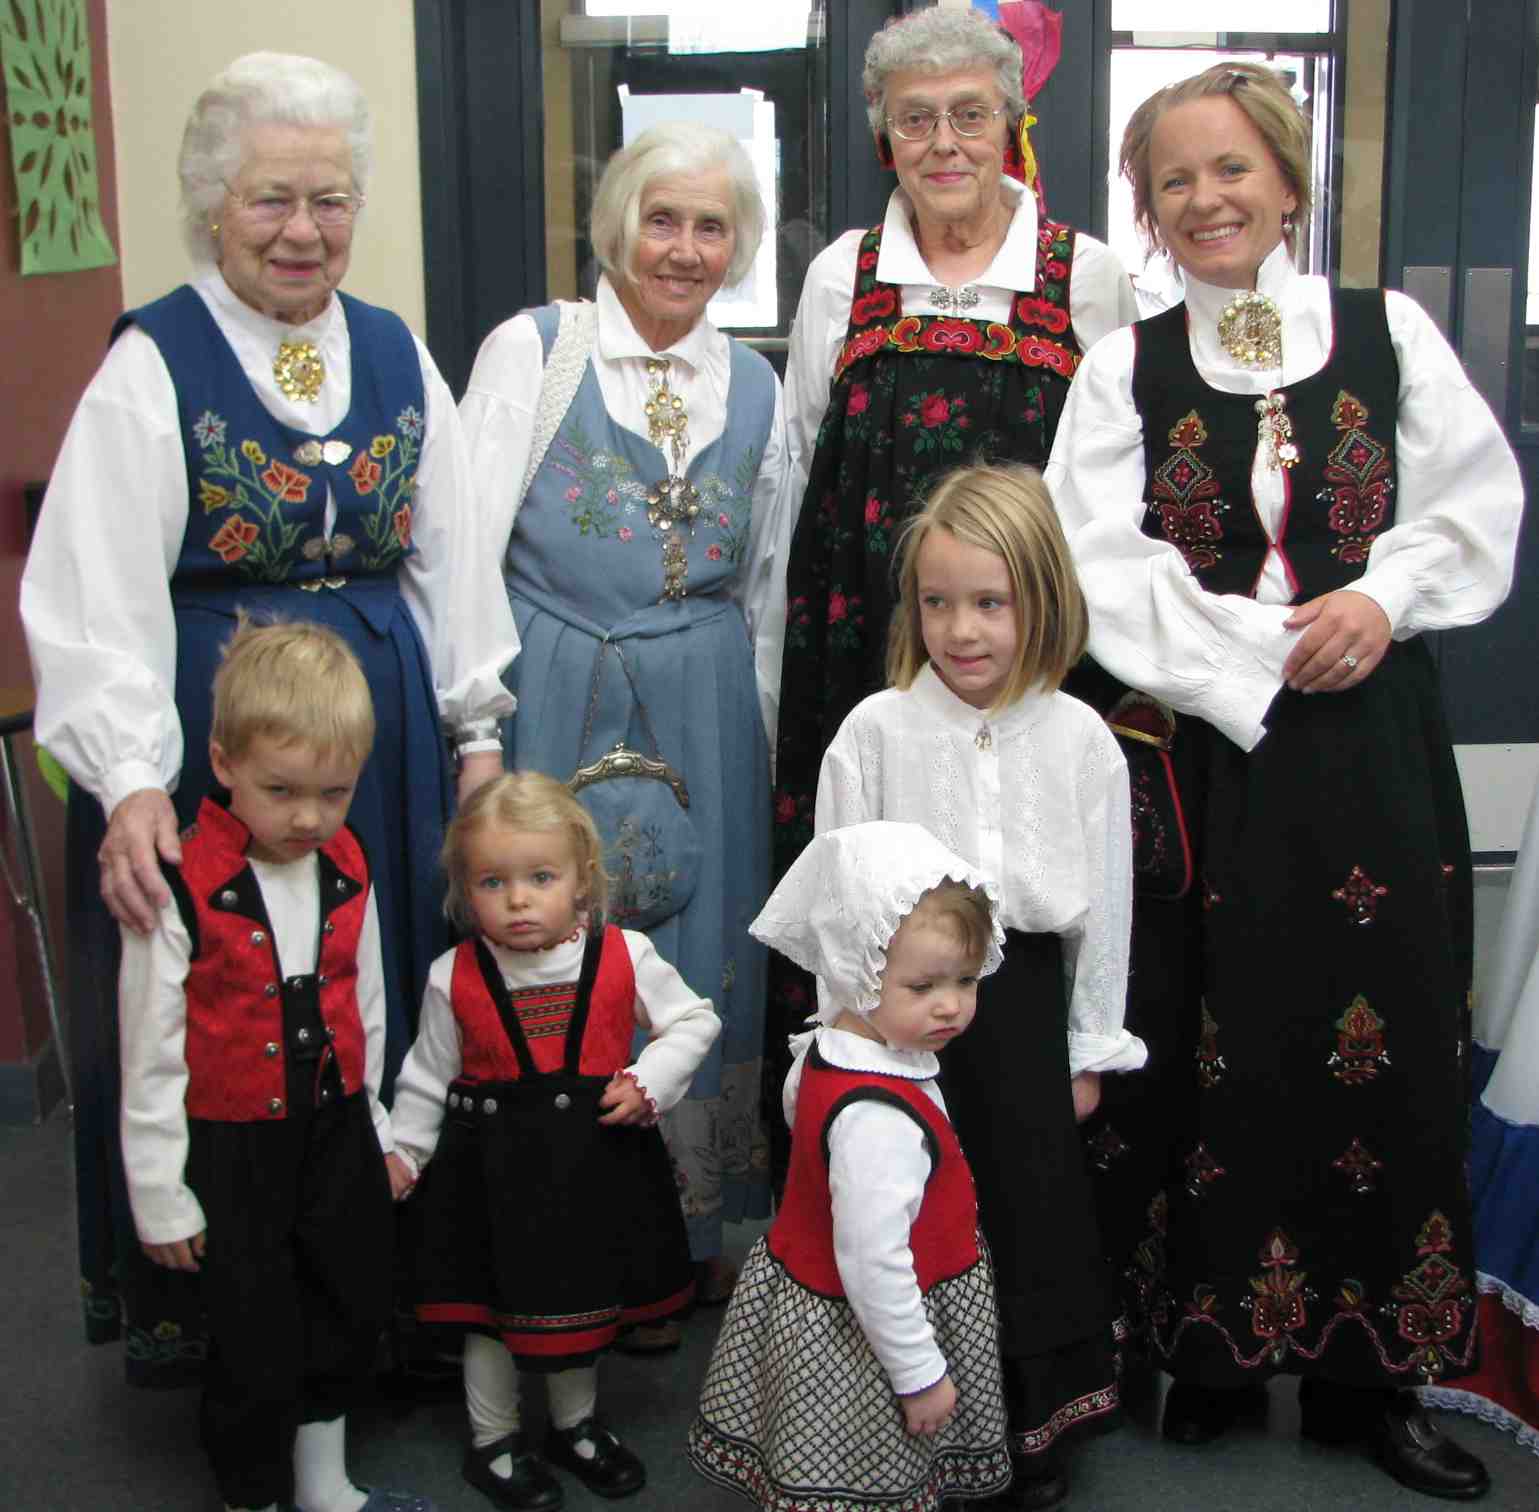
Years ago, after writing a paper for a college history class about Norwegian Americans, I became familiar with a fraternal…
Read More
It’s the all-in-one book for all things BPA. If you only bought one book, I would recommend A Guide to…
Read More